Making Universal Render Pipeline Look Decent
In this tutorial, I'll start with an empty project/scene, add a couple of basic objects, make sure we're using the univeral render pipeline and step by step go from quite underwhelming to decent.
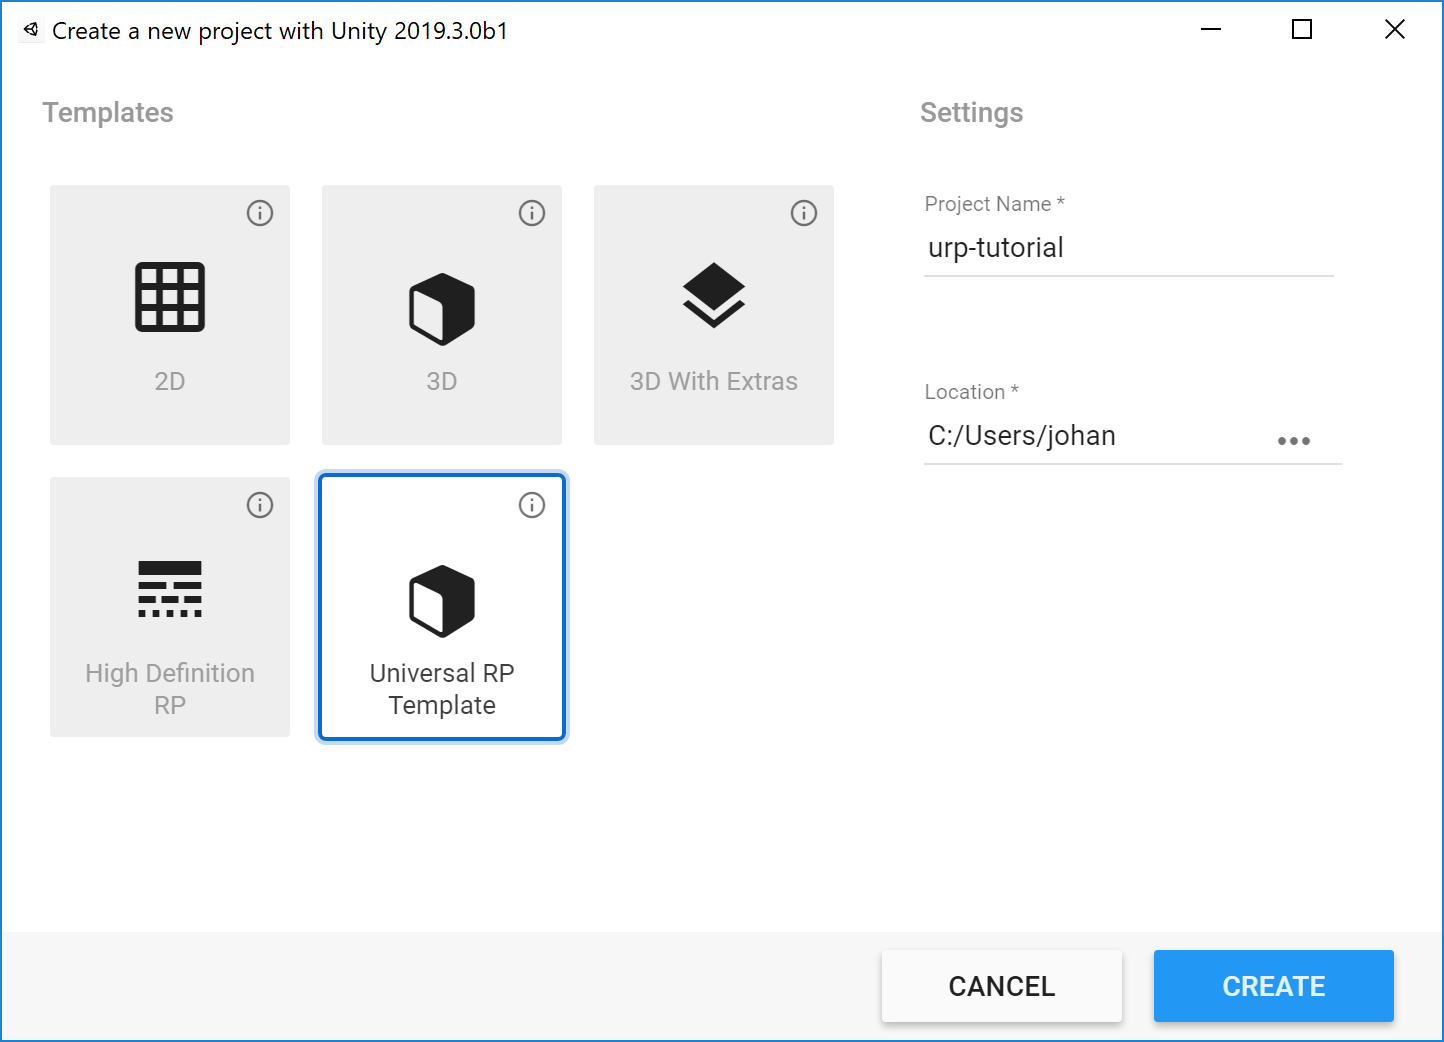
Start by launching Unity hub and Create a project using the Universal RP Template template.
While the example scene looks pretty good, it's hard to understand why. So delete everything in the assets folder and create a new empty scene.
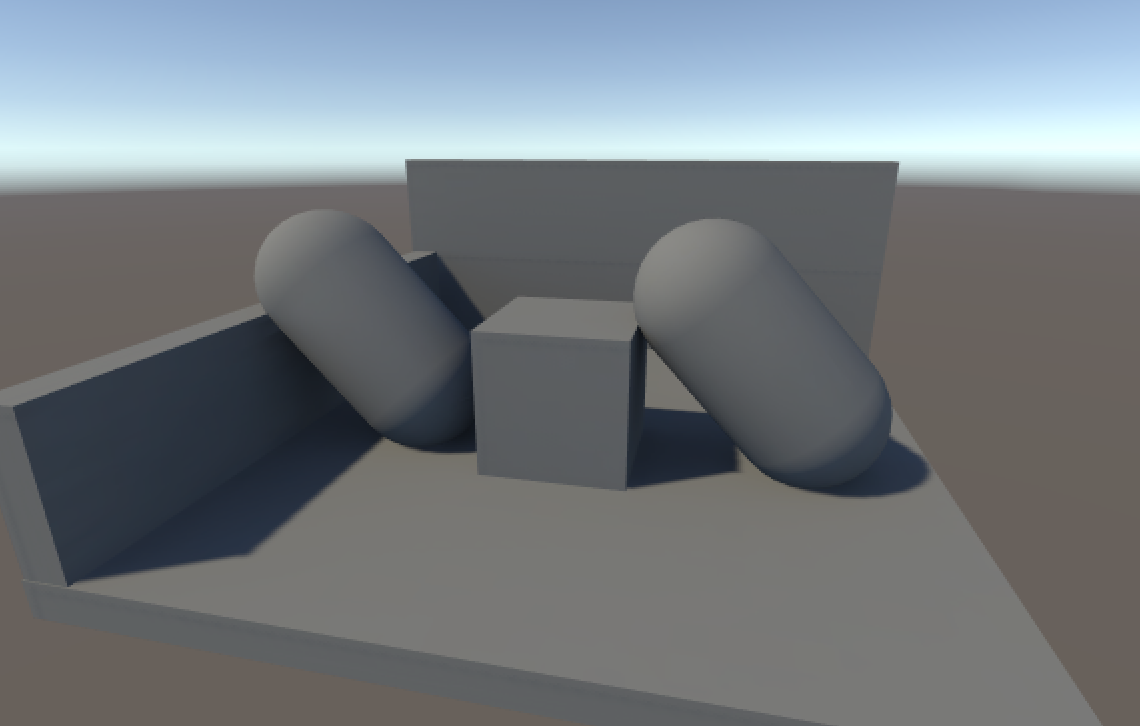
Create a couple of basic objects and block out a scene, make sure that some of the objects are have round faces, such as cylinders, spheres condes. And that some of them are close together.
Find a good angle in the scene viewport, and hit Ctrl+F to align the camera
with the scene view. Open the game view in a separate window to make sure you
can see it while working.
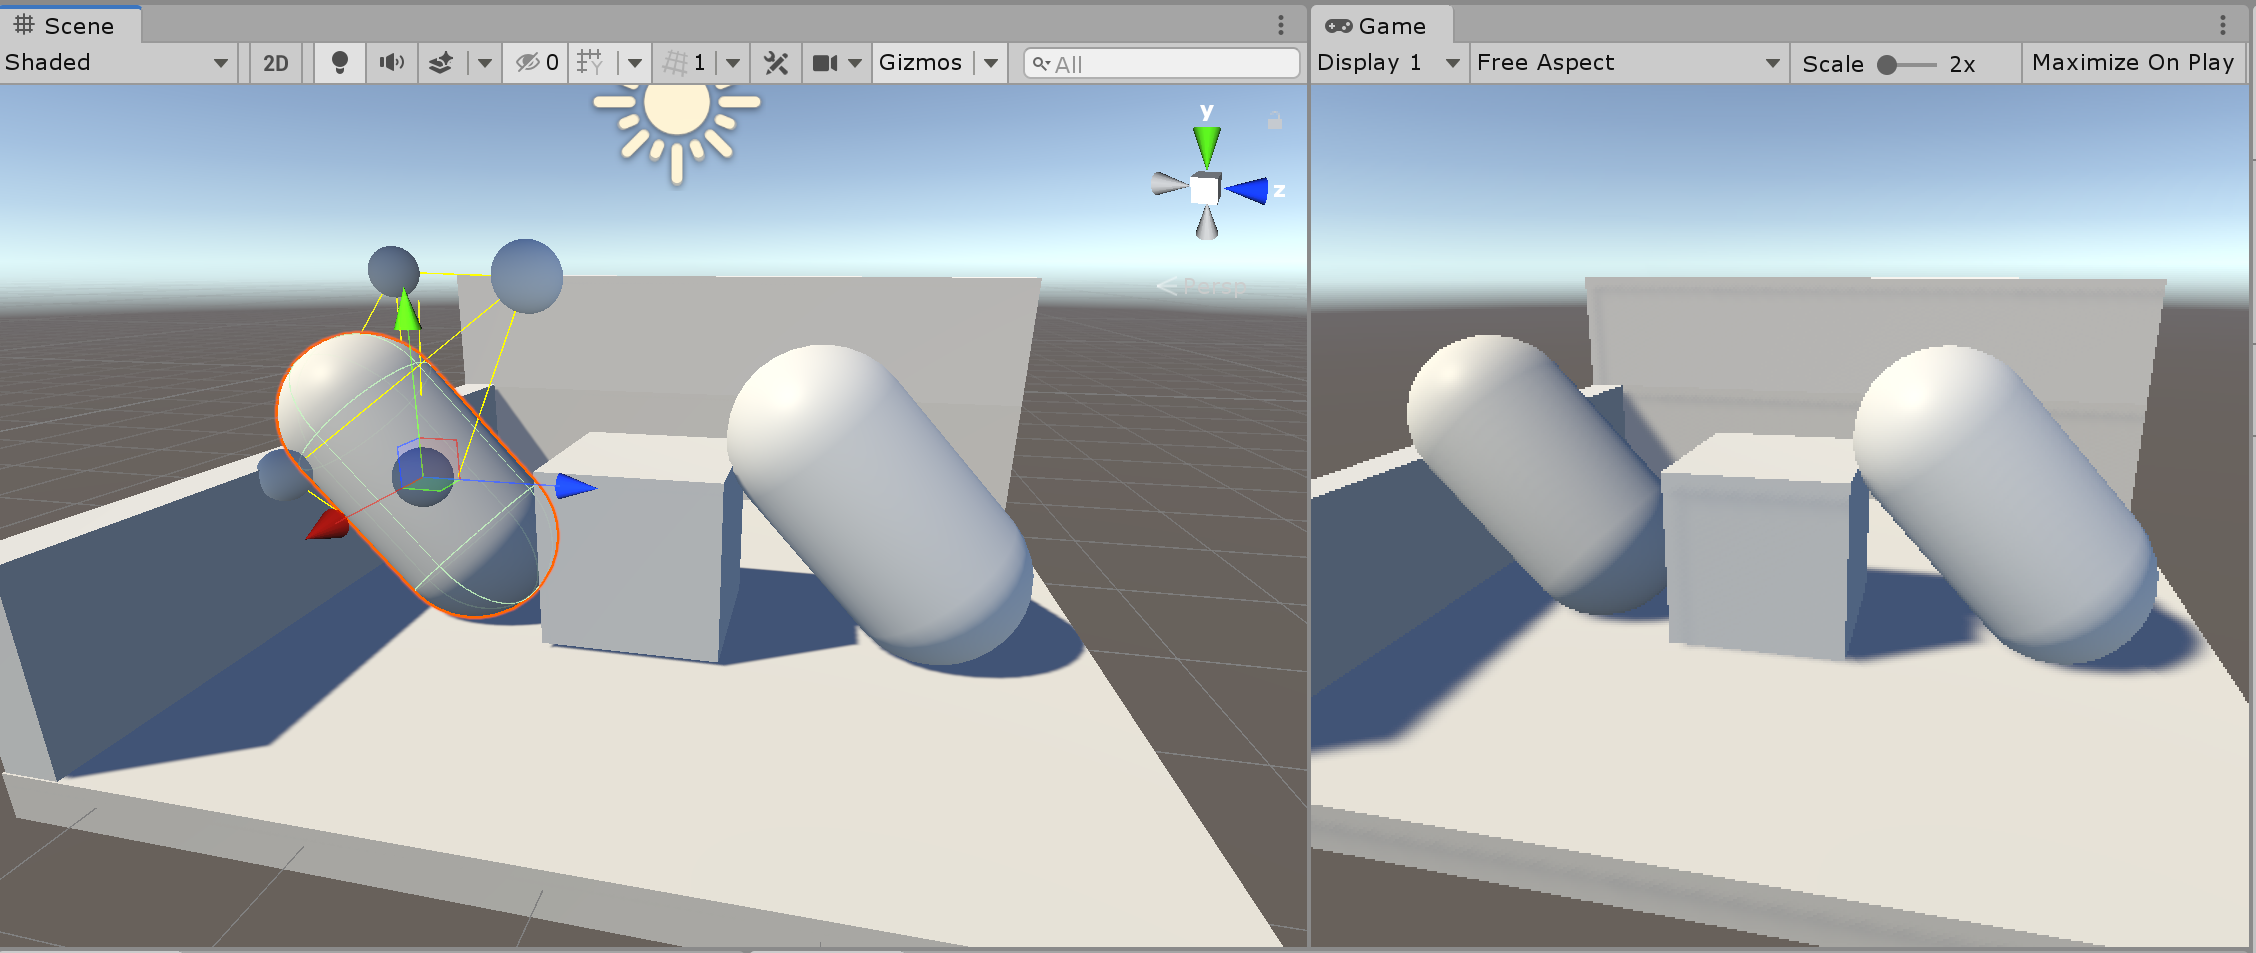
As you can see on the picture, the reason we do this, is that even though you enable shaded mode in the viewport, there are few still a few differences compared to the game view.
Enabling the Universal Render Pipeline
Even though we have the Universal render Pipeline package installed, a couple of things needs to be in order. Otherwise, Unity will fall back to the standard (old) pipeline.
The first thing we need to do, is create a render pipeline asset. This is an
asset that will hold many of our rendering settings. To create it right-click
in the project browser and select Create->Rendering->Universal Render Pipeline->Pipeline Asset.
Now, we've created a pipeline asset, but we still need to make sure it's used
for rendering. The reason we have to do this, is that you could have multiple
pipeline assets and use different ones depending on platform and quality
settings. Go to Edit->Project Settings->Graphics->Scriptable Render Pipeline asset and select the pipeline you created.
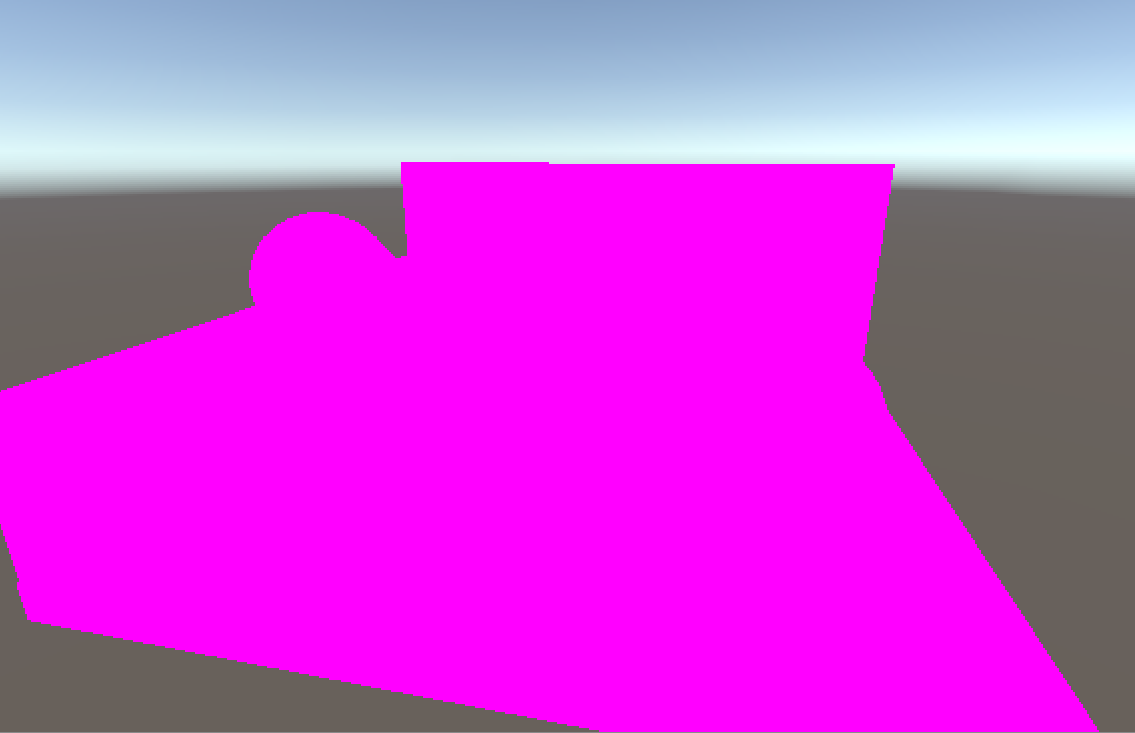
So... suddenly everything turned pink. What a nasty suprprise. The reason this happens, is that we created all the primitives when the standard pipeline was used, and the materials that got assigned to those primitives are for the old pipeline. In order to fix this, you need to assign new Universal pipeline compatible materials.
While it may seem tempting to try to Edit->Render Pipeline->Universal Render Pipeline->Upgrade Project Materials to UniversalRP Materials, it
doesn't currently work for Simple/Lit, so we need to reassign manually.
Create a new material for all you primitives (Create->Material) and open it
in the inspector. By default it should use the Universal Render Pipeline/Lit
shader.
Select all your primitives in the scene hierarchy and assign the newly created material in the inspector.
Now, we it isn't pink anymore, but instead we have something even more hideous than we started out with... Let's fix it!
Enable anti-aliasing.
Now, the first thing that really stands out to me, is the jagged edges of almost everything. The reason for this, is that anti-aliasing is disabled by default. In fact a lot of the default quality settings are rather weird, and/or underwhelming.
Open the UniversalRenderPipelineAsset you created earlier and edit it in the
inspector. Under the Quality section, change Anti Aliasing (MSAA) from
disabled to 8x.
This gets rid of the jaggies on the edges of objects, but not on the shadows... which leads us on to:
Increase shadow resolution
By default a shadow resolution of 2048 is used for the main light. Go to
Pipeline asset->Lighting->Shadow Resolution and change it to 4096.
This is starting to not look obviously broken anymore :)
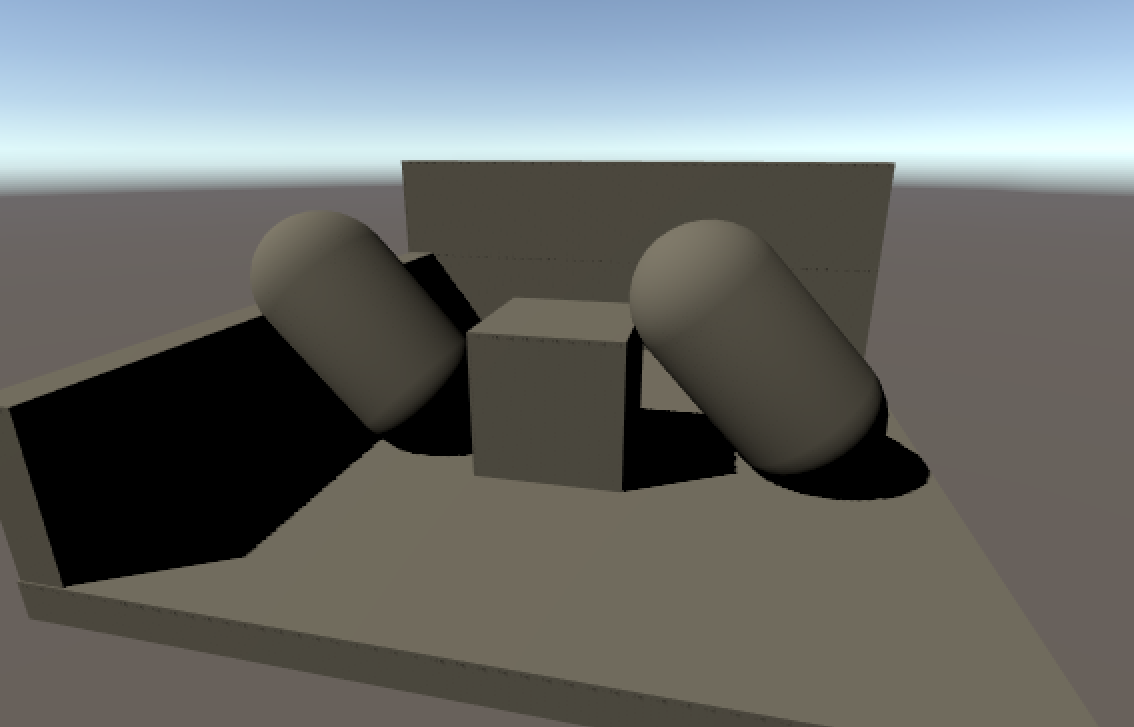
Enable soft shadows
There's still some jaggedness going on here, though. And in fact, almost no matter how much you bump the shadow resolution, there will still be some jaggedness, which is why I recommend that you also enable soft shadows, which makes the issue less obvious.
Enale it by checking Pipeline asset->Shadows->Soft Shadows.
Lighting-wise this is still looking pretty boring, lets take care of that!
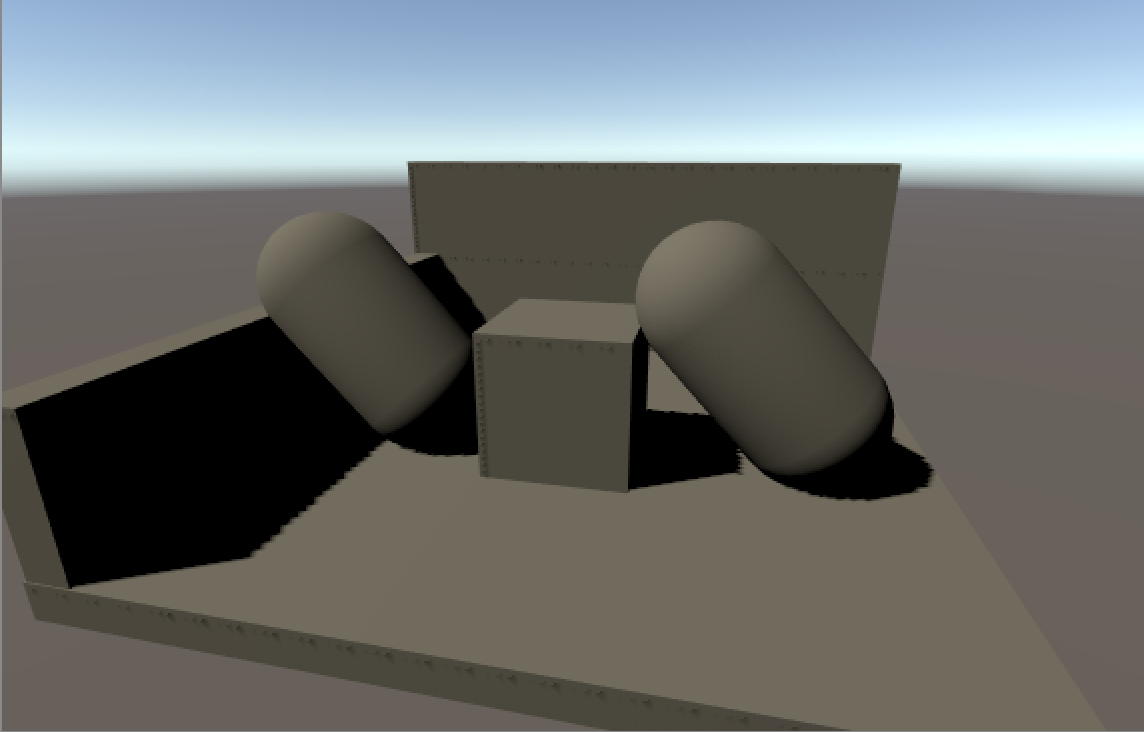
Bake lighting
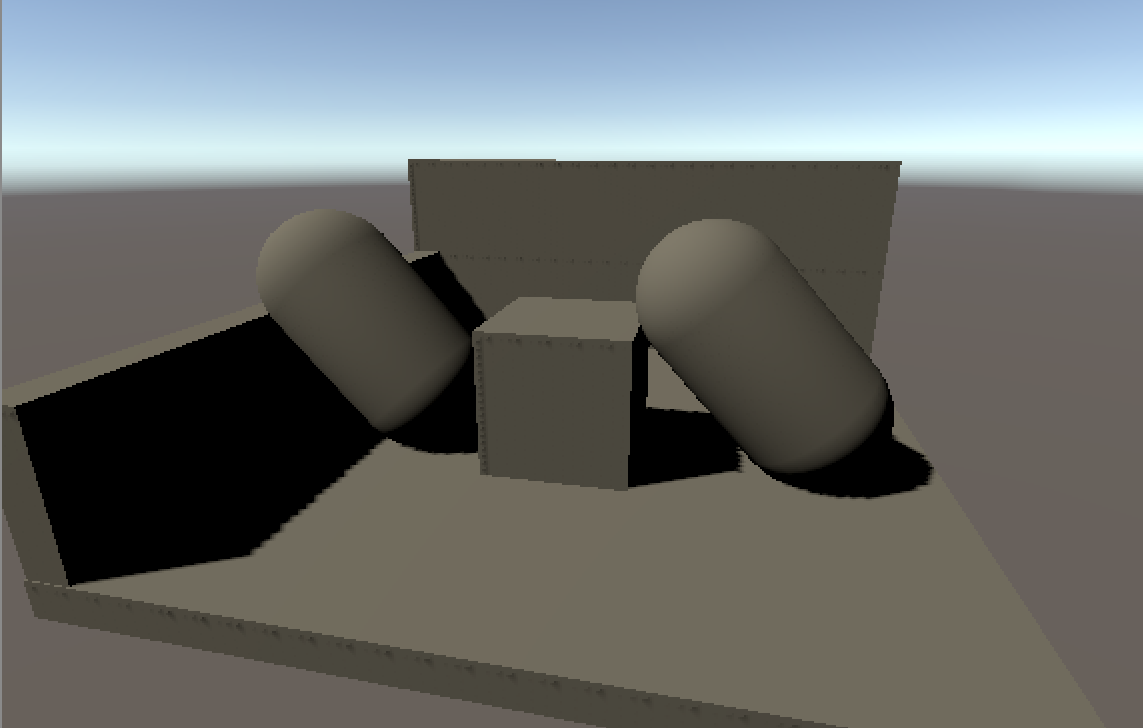
The shadows are completely black, which is very odd, and doesn't really happen in real life. And they don't really look like they fit in with the background either.
The reason for this, is that, by default, no light maps are generated, and this
has to be done manually. You can do this by going to
Window->Rendering->Lighting Settings and then press Generate Lighting
at the bottom.
Also go ahead and check the Auto generate box nex to the Generate Lighting
button, this will save us a lot of clicking as we change further lighting
settings.
Tip: Also, in the Lightmapper Settings section, switch from Progressive CPU
to Progressive GPU (preview) and see if it works for you. This will be a lot
faster.
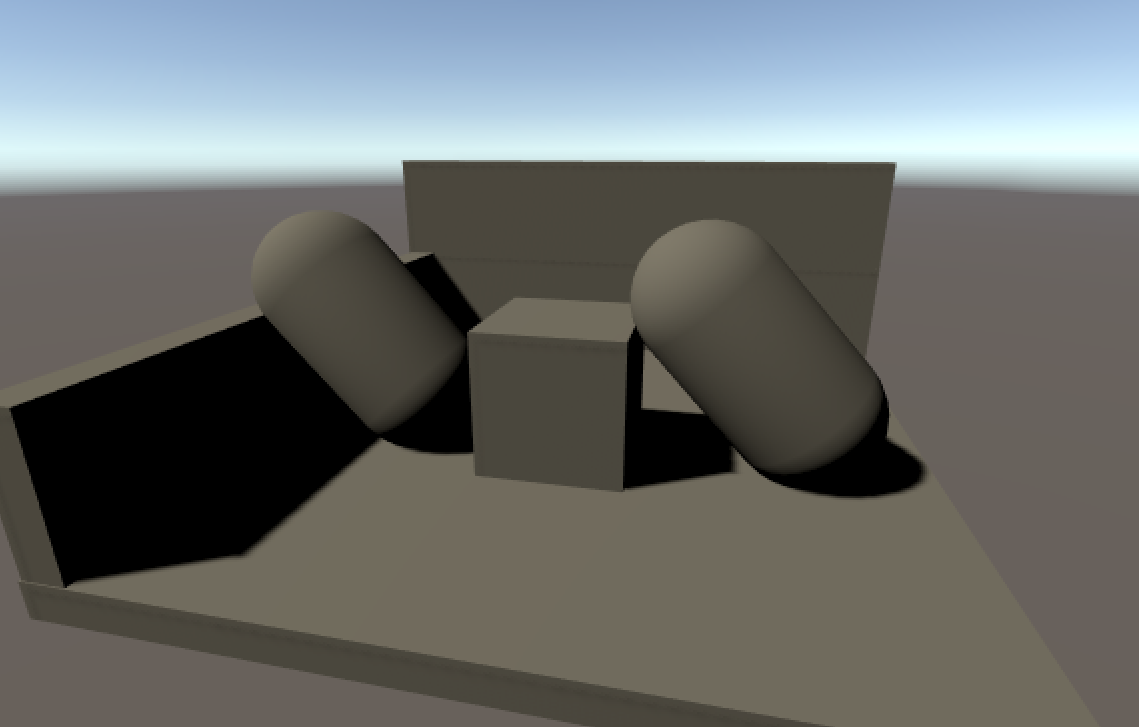
Lighting-wise we're back to something similar to what we started with, but we can do better :)
While this certainly looks less broken, something weird is still going on in the shadows. The corners don't really look like corners. One of the reasons for that, is that we don't get the full advantages of baked lighting because it only works for static objects, and the primitives we created are not set to static by default. It's a good idea to set all objects to static unless you know they can move.
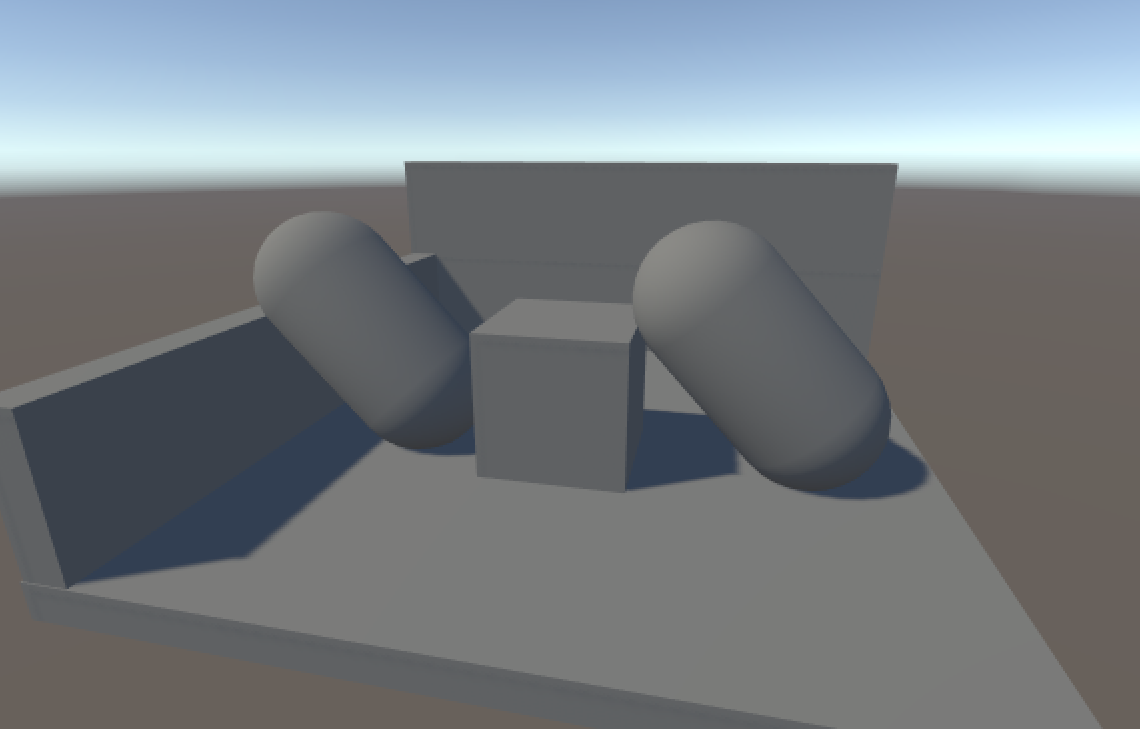
Go ahead and select everything in the scene except the camera and, tick the
Static box in the top of the inspector.
I think this is starting to look decent! There are still lots of things to do, but this should cover the most important areas in order to have something that doesn't look like a two decades old console game.
I you liked this post, please let me know and I might turn this into a tutorial series!